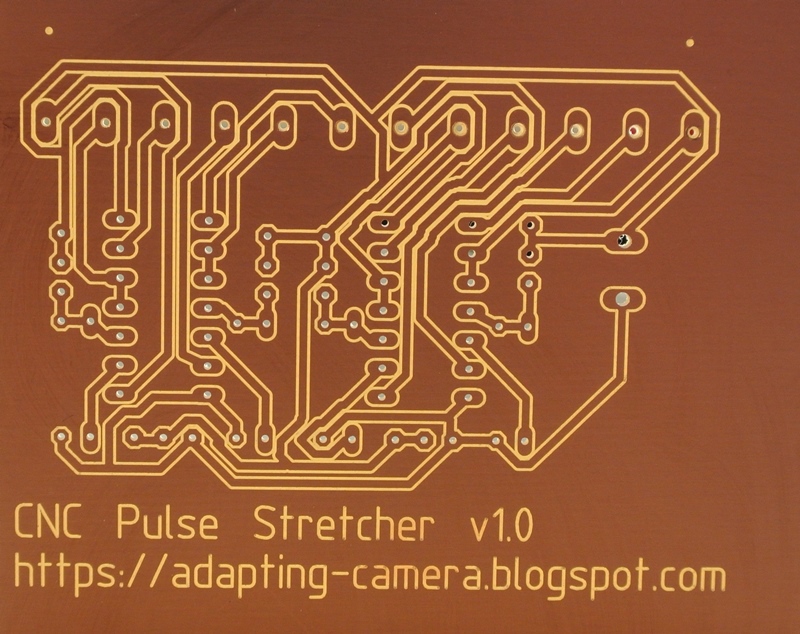
Anyway, making a long story short, the PCB turned out really nice, no additional work needed with cleaning the tracks or anything at all. Traces are beautifully milled follow what's been routed with the auto router of Eagle. Manually routing or double sided PCB would have created a more beautiful art work, but it's good enough. Due to lack of 1.2mm high speed PCB drill, I used a simple twisted drill, which was a mistake. It slide into the collet after a few holes, so I have to drill those missed holes manually on a pillar drill. I didn't use the auto leveling plugin mainly because I did not like the limitations that the probing area is not definable. Perhaps I missed something, but it seems to be necessary for it to start at XY = 0 which is wrong, since that is the edge of the PCB and it seems to do the first probing along that line, from X0 to Xmax, which in this case is X-100. Probing along X0 is totally wrong in this case, so I found it useless. Also, since my table is leveled and the PCB is pretty small, I decided to skip auto leveling and try without and I am glad I did that. Like I said, perhaps I missed something, but for now it does not matter.
Some details about the machining data:
Spindle speed: 22,000rpm
Cutter: 30 degree 0.2mm V-bit engraving cutter
Drill bits: high speed PCB drills, 0.6mm and 1.2mm
Maximum milling depth: 0.07mm
Isolation distance: 0.2375mm
PCB type: fibre glass 1.6mm, FR4 with 35um copper layer
Feed rates: 450mm/min first pass, 650mm/min second pass
Z plunge rate for drilling: 250mm/min
If anybody is interested in more details please visit my blog.
https://adapting-camera.blogspot.se/2016/12/making-pcb-with-my-upgraded-diy-cnc.html
